

Can I install a Can Am air filter without any mechanical experience?
As a supplier of Can Am air filters, I often get asked by customers if they can install a Can Am air filter without any mechanical experience. The short answer is yes, you can. But like any DIY project, it requires a bit of patience, the right tools, and a clear understanding of the process. In this blog post, I'll walk you through the steps of installing a Can Am air filter, highlight some key considerations, and address common concerns.
Why Install a Can Am Air Filter?
Before we dive into the installation process, let's briefly discuss why you might want to install a Can Am air filter. A high - quality air filter is crucial for your Can Am vehicle's performance. It prevents dirt, dust, and other debris from entering the engine, which can extend the engine's lifespan and improve fuel efficiency. Moreover, a clean air filter allows for better airflow, which can enhance the engine's power output.
Tools You'll Need
Installing a Can Am air filter doesn't require a vast array of specialized tools. Here's what you'll need:
- A basic socket set: This will come in handy for removing any bolts or screws holding the air filter housing in place.
- A flat - head or Phillips - head screwdriver: Depending on the type of fasteners used in your vehicle, you'll need one or both of these to open the air filter housing.
- A clean cloth: To wipe away any dirt around the air filter housing and to handle the new air filter without getting it dirty.
Step - by - Step Installation Guide
Step 1: Locate the Air Filter Housing
The first step is to find the air filter housing in your Can Am vehicle. In most models, it's relatively easy to spot. It's usually a large, rectangular or oval - shaped box near the engine. Consult your vehicle's owner's manual if you're having trouble finding it.
Step 2: Remove the Old Air Filter
Once you've located the air filter housing, use your socket set or screwdriver to remove the fasteners holding the housing cover in place. Carefully lift the cover off and set it aside. You'll then see the old air filter. Gently remove it from the housing. Take a moment to inspect the old filter. If it's clogged with dirt and debris, it's definitely time for a replacement.
Step 3: Clean the Air Filter Housing
Before installing the new air filter, it's a good idea to clean the air filter housing. Use your clean cloth to wipe away any dirt or dust that has accumulated inside. This will ensure that the new filter doesn't get dirty right away.
Step 4: Install the New Air Filter
Take your new Can Am air filter and carefully place it in the housing. Make sure it fits snugly and is properly aligned. Some air filters have markings or arrows indicating the correct orientation. Double - check that you've installed it correctly.
Step 5: Replace the Housing Cover
Once the new air filter is in place, put the housing cover back on. Secure it with the fasteners you removed earlier. Make sure they're tightened properly, but be careful not to over - tighten, as this could damage the housing.
Key Considerations
- Compatibility: Ensure that the air filter you're purchasing is compatible with your specific Can Am model. Different models may require different sizes and types of air filters.
- Safety First: Always make sure your vehicle is turned off and has cooled down before attempting to install the air filter. This will prevent any accidental burns or injuries.
- Inspect Regularly: Even after installing a new air filter, it's important to inspect it regularly. Depending on your driving conditions, you may need to replace the air filter more frequently.
Common Concerns
- What if I can't find the air filter housing? As mentioned earlier, refer to your vehicle's owner's manual. It should have detailed diagrams and instructions on where to find the air filter housing.
- What if I install the air filter incorrectly? An incorrectly installed air filter may not function properly, which can lead to reduced engine performance. If you're unsure, it's always a good idea to double - check the installation or consult a professional.
Related Engine Parts
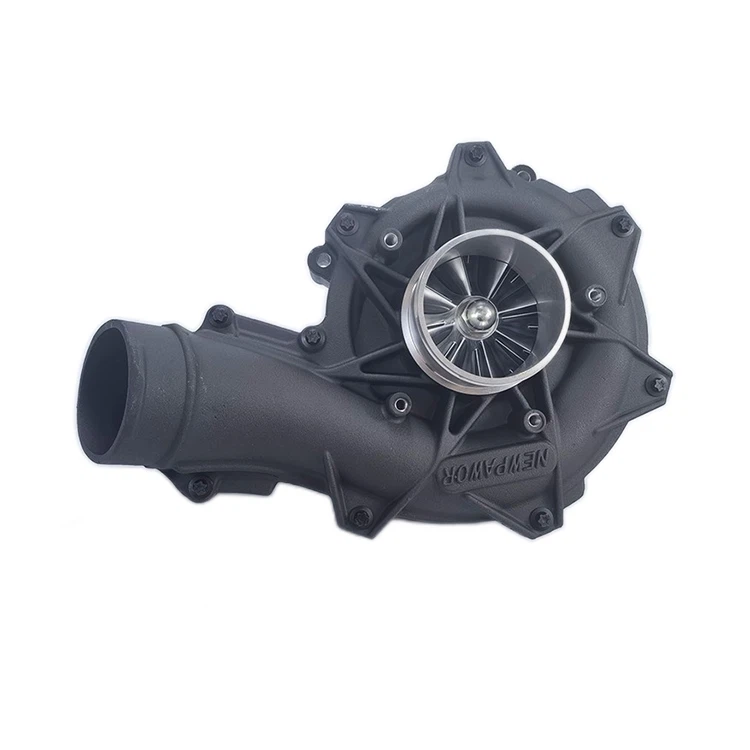
If you're interested in other engine parts for your watercraft or vehicle, we also offer a range of high - quality components. For example, we have Jet Ski Engine Mount that provides stable support for your jet ski engine. Our Timing Chain For Yamaha ensures precise engine timing, and the Supercharger for Yamaha can significantly boost your engine's power output.
Conclusion
Installing a Can Am air filter without any mechanical experience is entirely possible. By following the steps outlined in this guide and keeping the key considerations in mind, you can successfully replace your air filter and improve your vehicle's performance. If you have any questions or need more information about our Can Am air filters or other engine parts, don't hesitate to reach out. We're here to assist you in making the right choice for your vehicle. Whether you're a DIY enthusiast or just looking to maintain your Can Am vehicle, we have the products and expertise to meet your needs. Contact us today to start a procurement discussion and take your vehicle's performance to the next level.

References
- Can Am Vehicle Owner's Manuals
- General Automotive Maintenance Guides